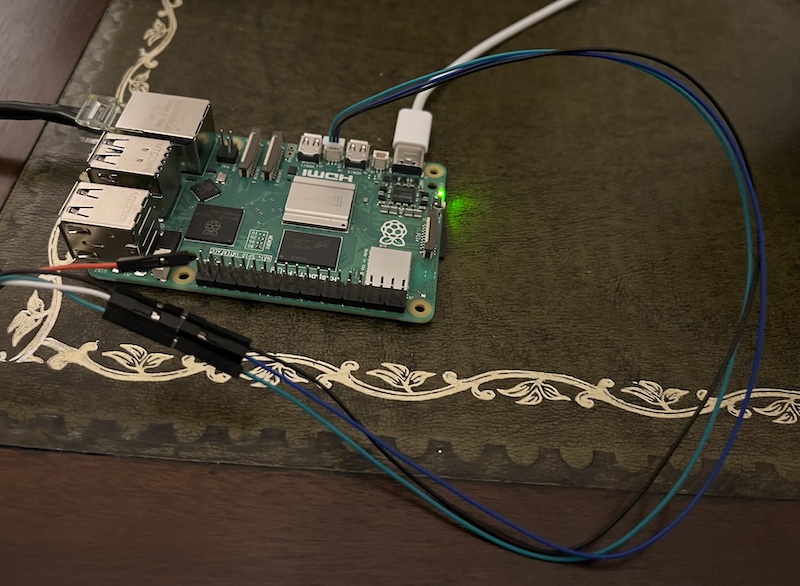
Sometimes it can be helpful to establish a connection with a Raspberry Pi when you have physical access to the hardware, but no display or network access. In this scenario, you can use the serial connection.

Physical connection
By default, the serial connection is exposed via GPIO 14/15 (pins 8 and 10). They are the transmit and receive channels respectively; if you bridge them electrically, you can create a “loopback” that allows you to test from within the Pi.
More likely, you’ll want to use a USB device like this one that will allow you to connect via another computer. You’ll need to connect the black wire to a ground pin (e.g. pin 6), the white wire to TX (pin 8), and the green wire to RX (pin 10).
Enabling serial output
Model 3B+/4B
On the Pi, you’ll need to have updated the boot config.txt to include the following line:
enable_uart=1
You can enable additional earlier serial output during boot by using sudo -E rpi-eeprom-config --edit to edit the EEPROM, and setting:
BOOT_UART=1
This can be helpful to see exactly where things might be getting stuck if a Pi is failing to boot.
Model 5B
If you’ve got a Raspberry Pi 5, the default serial output is done through a new dedicated UART header rather than the GPIO pins. For consistency, you can revert back to the old behaviour of using the GPIO pins by also adding the following:
dtparam=uart0_console
However, this method is not able to capture output from the firmware during boot; for that you need to use the dedicated UART header, which you can connect to by daisy-chaining with a JST-SH cable like this.
Connecting from another computer
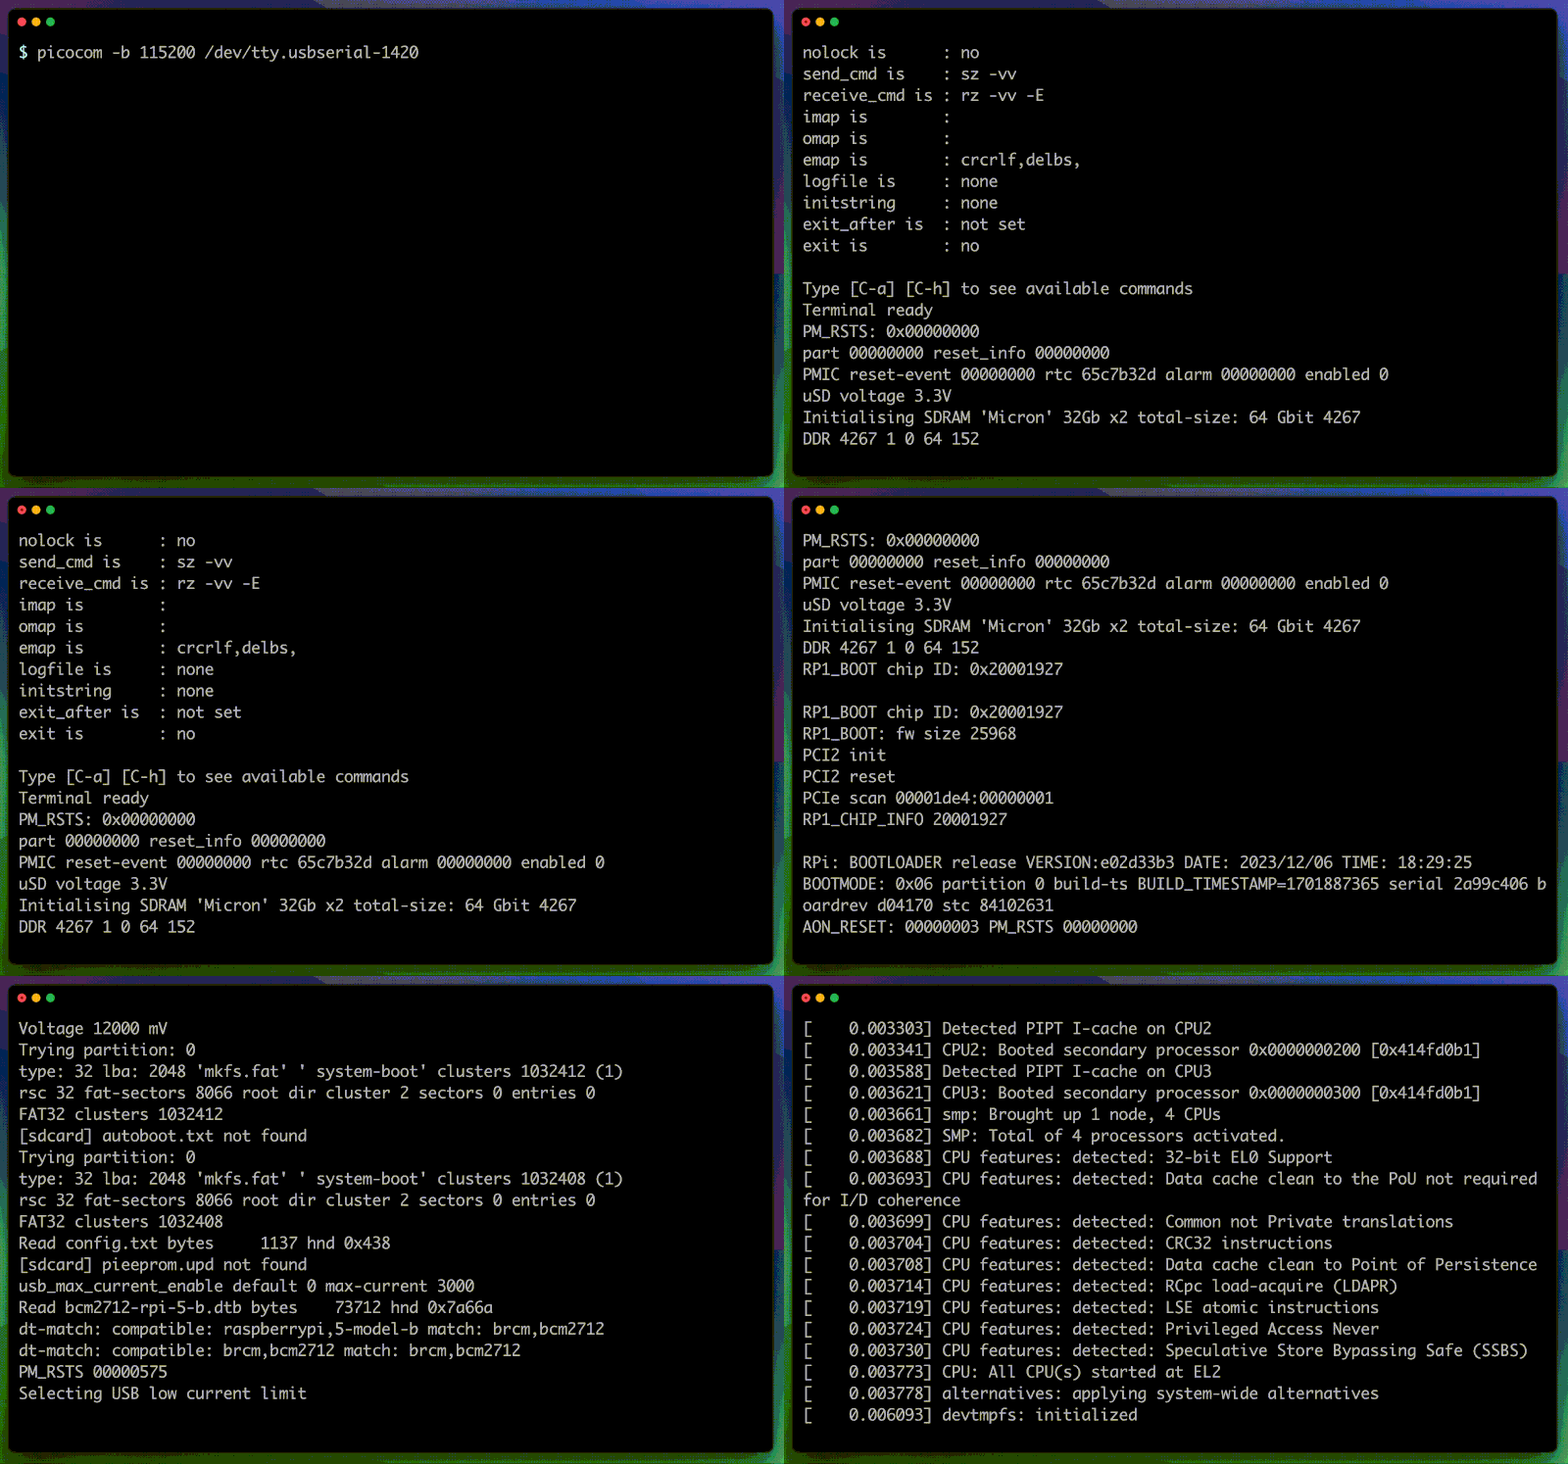
While there is lots of documentation about using screen to connect, I found using picocom a little easier-going - it can be installed via Homebrew on macOS.

With the USB cable attached, it should appear as a serial device and can then be connected to whilst specifying the baud rate of the connection:
picocom -b 115200 /dev/tty.usbserial-xxxx
Once you’re done, to exit send the prefix C-a followed by C-x.