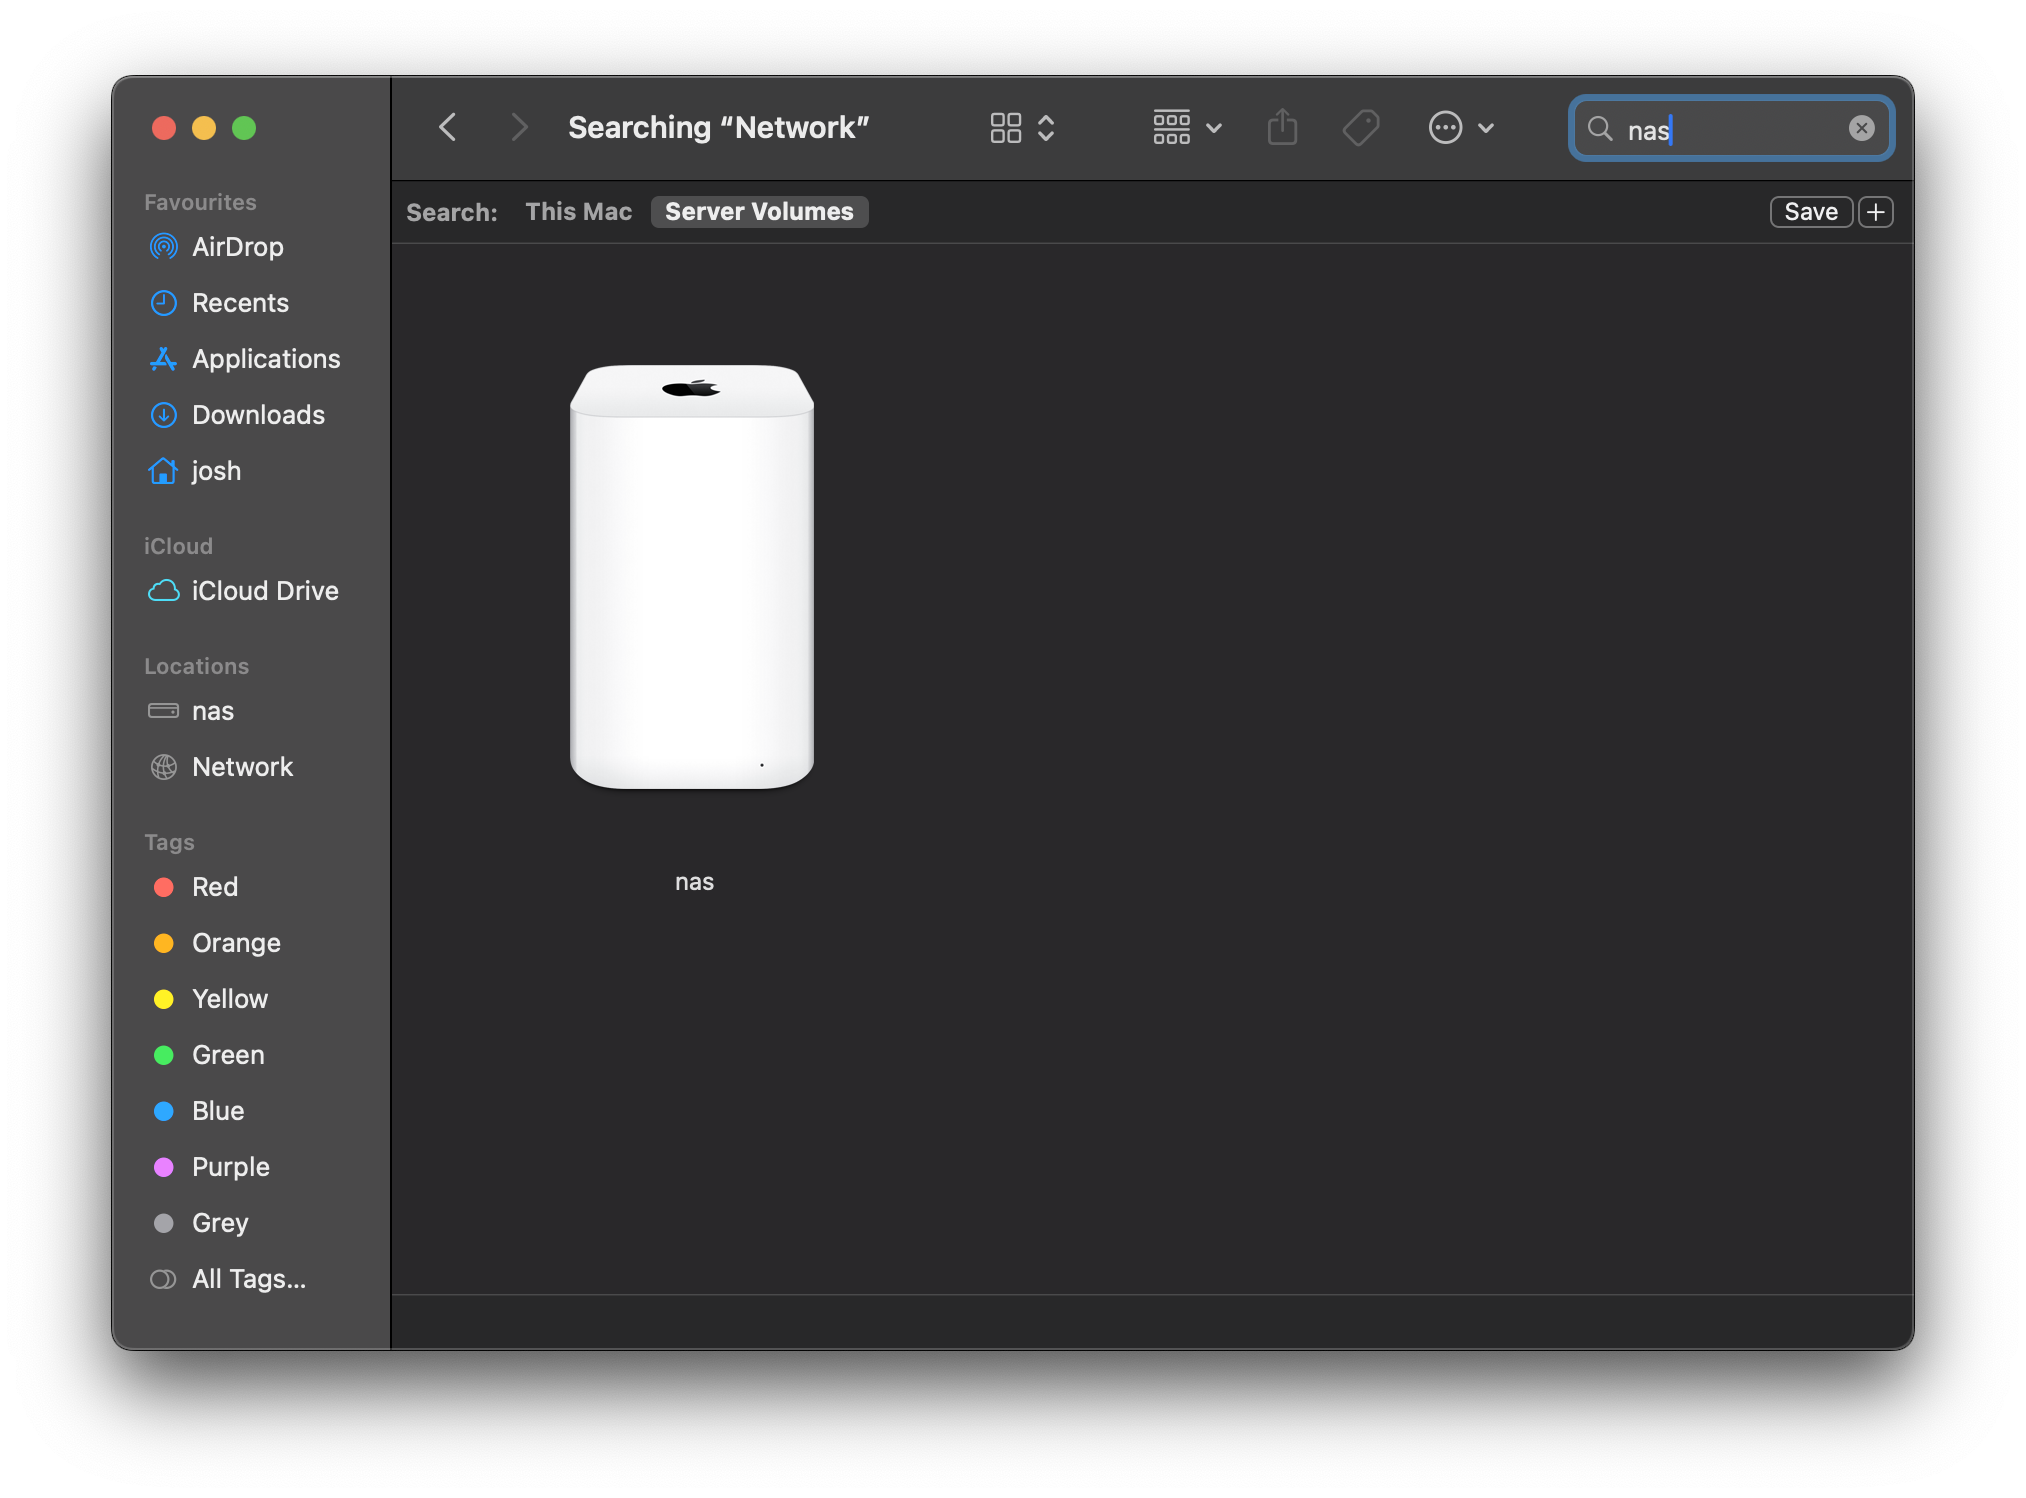
TL;DR - you can provision a multi-user Time Machine server with my ansible playbook. What follows describes how it all works.
Overview
Time Machine is a great solution for backing up macOS devices, but the need to remember to plug in a backup drive regularly is potential pitfall. Time Machine works best when backing up continuously to a remote target on the network.
To set up a Time Machine server, we need a few things:
- some hardware; I use a Raspberry Pi with an NVMe SSD
- an SMB share to hold the backed-up data
- an mDNS solution to allow macOS clients to discover the server
Service Discovery
Time Machine uses mDNS to discover network devices that are advertising themselves as hosting Time Machine backups. We can use the avahi-daemon package to facilitate this, by configuring a service:
<!-- /etc/avahi/services/samba.service -->

<?xml version="1.0" standalone='no'?><!--*-nxml-*-->
<!DOCTYPE service-group SYSTEM "avahi-service.dtd">
<service-group>
  <name replace-wildcards="yes">%h</name>
  <service>
    <type>_smb._tcp</type>
    <port>445</port>
  </service>
  <service>
    <type>_device-info._tcp</type>
    <port>9</port>
    <txt-record>model=TimeCapsule8,119</txt-record>
  </service>
  <service>
    <type>_adisk._tcp</type>
    <port>9</port>
    <txt-record>dk0=adVN=Josh's Time Machine,adVF=0x82</txt-record>
    <txt-record>sys=adVF=0x100</txt-record>
  </service>
</service-group>
This:
- Advertises an SMB server available on port
:445 - Mimics the
_device-inforesponse of an Apple Time Capsule - Advertises “Josh’s Time Machine” as an available Time Machine target
By adding multiple <txt-record> entries in the _adisk service, it’s possible to advertise multiple separate Time Machine targets.

Configuring Samba
For providing the SMB share, we can use samba. Once installed, I like to configure a separate share for each individual who’ll be using Time Machine. If just a single share were configured, even if individual backups were encrypted, there’d still be a risk that one user could compromise the backups of another.
For each user, they’ll need to be set up with a user account on the server, although they don’t need to have the ability to log in directly. As an example:
adduser josh --shell=/sbin/nologin --no-create-home
We do then have to provide an SMB password for them (to allow them to log in to their share), which can be done interactively:
smbpasswd -s -a josh
For simplicity, we can keep each user’s configuration in a separate file, then source it into the main smb.conf. For example:
# In /etc/samba/smb.conf
# [...]
include = /etc/samba/smb.conf.d/timemachine-josh.conf
…then sources smb.conf.d/timemachine-josh.conf:
[Josh's Time Machine]
    comment = macOS backups for Josh
    path = /srv/time-machine/josh
    valid users = josh
    read only = no
    vfs objects = catia fruit streams_xattr
    fruit:time machine = yes
This allows the files at /srv/time-machine/josh to be accessible over SMB specifically by the josh user. The fruit references encourage Samba to play as nicely as possible with macOS.
This should be all you need to get Time Machine backups working over the network. For further setup details, including multi-user specifics, check out my ansible playbook which automates all of the necessary provisioning.